Measurements
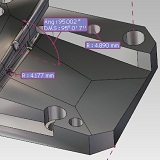
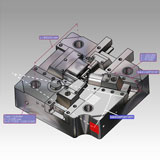
WORKXPLORE features a wide range of 2D and 3D measurement functions
Even non-expert CAD users can quickly get to grips with the software's measurement functions and immediately obtain good results, by making use of the software's predefined selection modes (points, wireframe entities, planes, surfaces, etc).
Functions include:
Coordinates; Distance between points; Numerous point snap functions; Distance between planes, surfaces; Numerous plane selection commands; Minimum distances between any surface groups; Angle measurements; Automatic or 3 point radius/diameter measurement; Manual or automatic measurement insertion.
Coordinates; Distance between points; Numerous point snap functions; Distance between planes, surfaces; Numerous plane selection commands; Minimum distances between any surface groups; Angle measurements; Automatic or 3 point radius/diameter measurement; Manual or automatic measurement insertion.
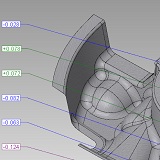
WORKXPLORE's specialist measurement functions allow expert CAD users to recover point clusters from three-dimensional measuring equipment or machine probes and to quickly control data versus the original CAD geometry. The software also allows users to easily generate control point files for transmission to three-dimensional measuring equipment or NC machines.
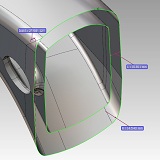
The measurements (point coordinates, angles, distances, radius…) can be repositioned at will and can be displayed in different formats.
The results of measurements can be copied into the clipboard using the function available in the context menu of the measurement concerned.
The Point, Distance, Radius and Angle measurement tools have been replaced by two new functions: Measure on One Entity and Measure between Two Entities. Users no longer have to explicitly indicate the type of measurement that he wants to make. He simply has to select the entities to obtain the result. Even though the automatic mode covers a large range of user requirements, there is still the possibility of forcing a specific mode such as point or plane selections in order to eliminate any restrictions with respect to the entities used for making measurements.


